Daylight Sensor: How It Works, Placement & Energy Savings
What is a daylight sensor?
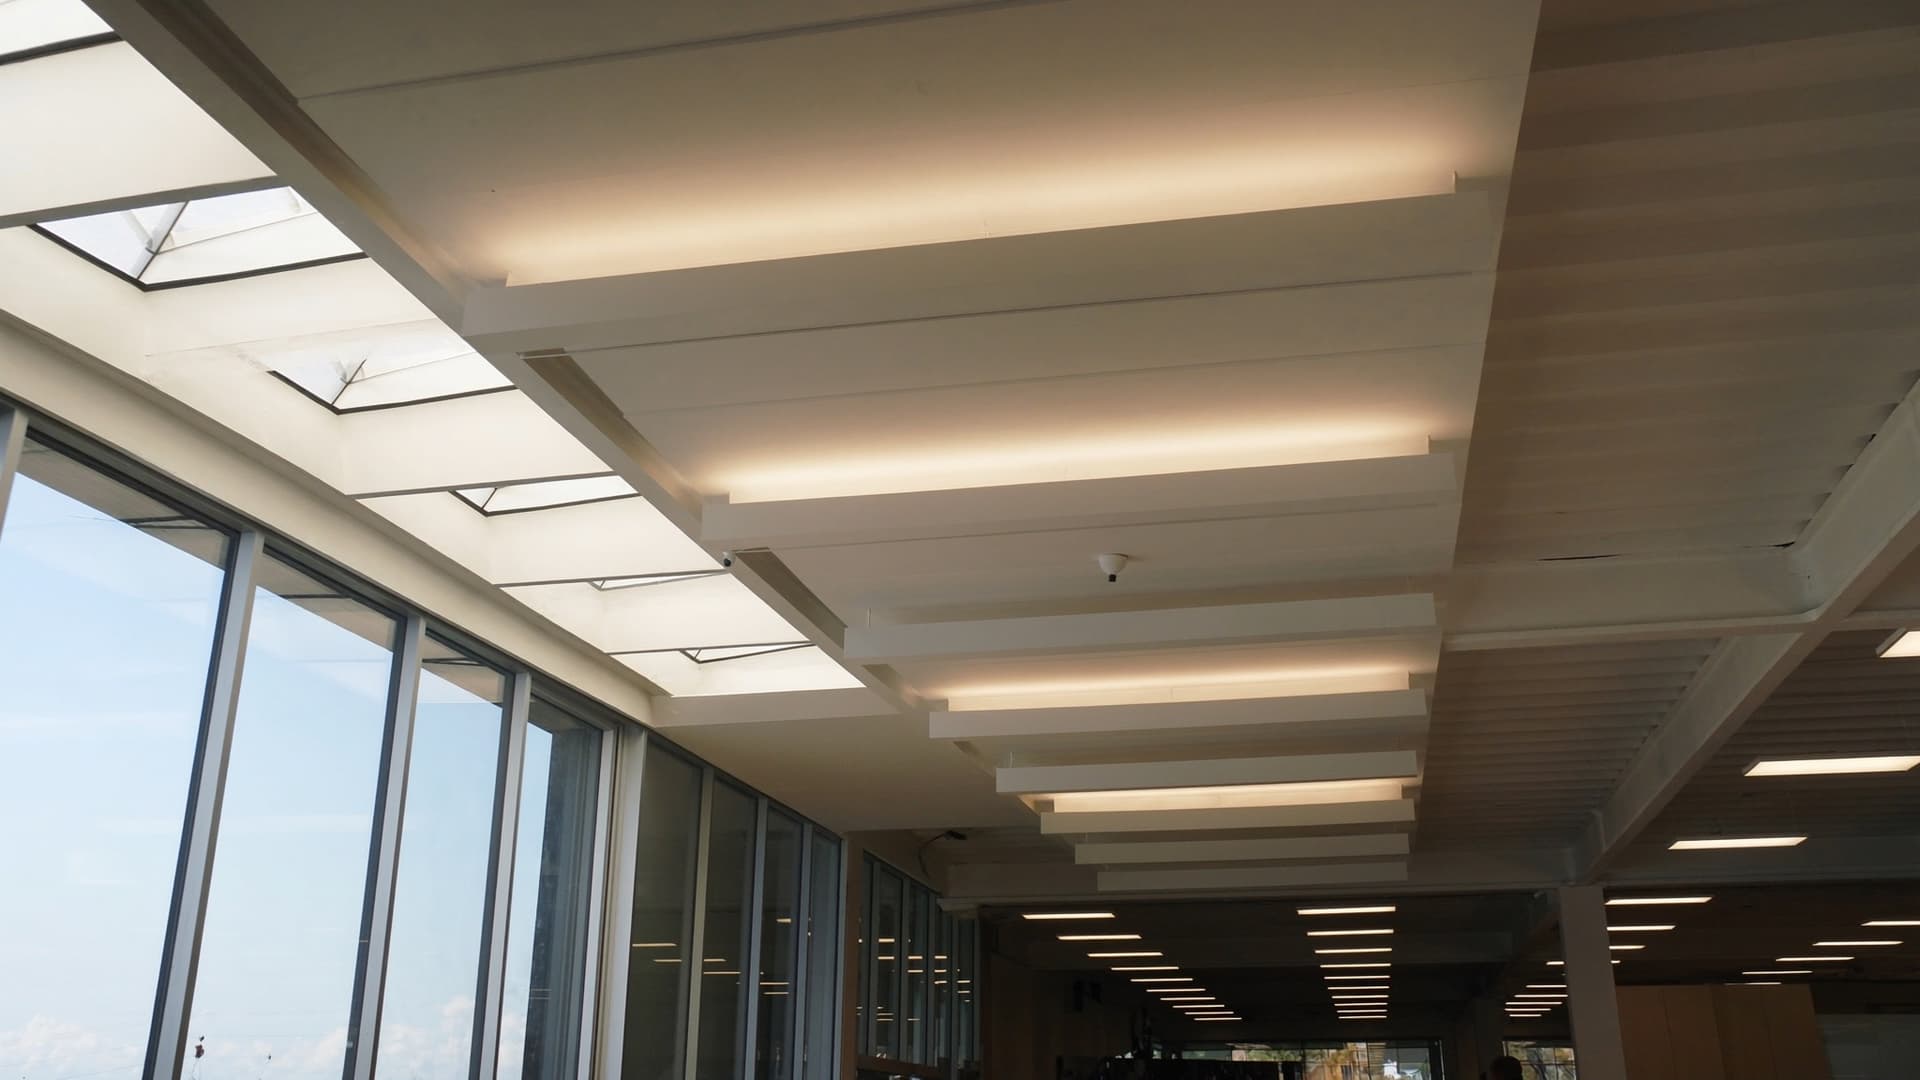
A daylight sensor is a light-measuring device that tells a lighting control system how much electric light to add to a space. It reads the ambient light continuously and drives the fixtures down when daylight is plentiful and back up when it fades, holding a target light level on the task. The point is narrow: instead of paying to relight a room the sun has already lit, you pay only for the top-up the daylight doesn't cover.
Two benefits follow from that top-up-only behavior, and they're why daylight sensors are standard in commercial lighting design. The first is energy: dim the electric light to the available daylight and you stop spending watts on illumination the sun is already providing. The second is hardware longevity. Running an LED at reduced output means lower drive current, which means a lower junction temperature, and cooler LEDs and drivers are the established route to longer service life. A daylight sensor spends a large share of the day holding fixtures below full output, so it isn't only saving energy; it keeps the light engines cooler than a constantly-full-output system ever runs them.
This guide covers what a daylight sensor is and how it works — the sensing element, the signal path, open-loop versus closed-loop, switching versus dimming, sensor types, how to connect them, placement and calibration, energy savings and codes — and where wireless sensors change the retrofit math.
Daylight sensor vs photocell vs photosensor
These three terms overlap, which is why they get confused. Underneath, they refer to the same thing: a light-sensitive element that turns incident light into an electrical signal.
- Photosensor is the neutral technical term for that element and the small circuit around it.
- Photocell is the everyday hardware name for the same component. Historically it also refers to the dusk-to-dawn control on outdoor and street lighting — a photosensor wired to a relay that switches a light on when it gets dark. That's on/off switching, not regulation.
- Daylight sensor describes a photosensor deployed specifically for daylight harvesting: calibrated, aimed, and connected so it regulates the electric light against the daylight — usually by dimming to hold a level, not just switching at a threshold.
So every daylight sensor is a photocell, but not every photocell does daylight harvesting. The distinction that matters is the job: switch a light on in the dark, or continuously trim electric light to match daylight. This guide is about the second.
How does a daylight sensor work?
The sensing element
At the core of every daylight sensor is a photosensitive semiconductor. Three types show up in practice:
- Photodiode — the most common in quality daylighting sensors. It produces a small current proportional to the light hitting it, responds fast, and stays linear across a wide range, which makes calibration predictable.
- Phototransistor — a photodiode with built-in gain, giving a larger signal for the same light. More sensitive, slightly less linear.
- Photoresistor (LDR) — its resistance falls as light rises. Cheap and simple, common in basic dusk-to-dawn photocells, but slower and less stable over temperature and age, so it's the weakest choice for precise regulation.
A well-designed sensor also shapes what reaches that element. A diffuser and an optical filter give it a defined field of view and a spectral response closer to how the human eye weights light (photopic response), so the reading tracks useful light rather than, say, a slug of near-infrared the eye can't see. The field of view — narrow or wide — is what later separates a closed-loop sensor from an open-loop one.
From light reading to control signal
The raw output of the sensing element is a current, voltage, or resistance that varies with light. On its own that's just a number proportional to illuminance (measured in lux, or foot-candles in the US). The work is turning that number into a command a dimmable fixture understands. The pipeline runs like this:
- Measure. The photosensor produces its raw electrical signal from the incident light.
- Condition and convert. Onboard electronics amplify, filter, and digitize that signal into an illuminance value.
- Compare to setpoint. The controller compares the measured level to the target you calibrated — the light level you want maintained.
- Compute the correction. From the error between measured and target, and a gain setting, it calculates how far to move the fixtures.
- Emit the control signal. It sends that correction out on whatever the fixtures speak — a 0–10V analog level, a DALI digital command, or a relay / PWM line for switched or driver-level control.
That last step is where much of the real-world integration lives, because the sensor and the fixtures have to agree on a language. In a wired system that's a physical control pair (0–10V or DALI). In a wireless system, the illuminance value is put on the radio network and the dimmable driver acts on it there. Either way, the sensor doesn't dim the light directly — it produces a number, and a driver turns that number into current in the LED.
See daylight regulation and Swarm work together
This is where MESHLE goes past a plain daylight sensor. On MESHLE Bluetooth Mesh, the lux reading that drives daylight regulation and presence-driven Swarm lighting run on the same fixtures at once — so one space can hold a daylight setpoint and still light the way ahead of people as they move. The scene below runs both behaviours together.
Open-loop vs closed-loop daylighting
This is the single most important design decision in daylight harvesting, and the one nearly every quick web explainer skips. It comes down to what the sensor is allowed to see.
A closed-loop sensor sees the daylight and the light it controls — typically pointed down at the task surface. It reads the combined result on the work plane and regulates to hold a measured setpoint. Because it sees the actual outcome, it corrects for anything: a cloud passing, a light burning out, a wall repainted a darker color. The catch is the loop must be tuned carefully, since the sensor is reading light it's also changing.
An open-loop sensor sees only the incoming daylight, not the electric light it controls — typically aimed up at a skylight or out toward the window, or mounted where the controlled fixtures fall outside its view. It can't measure the outcome on the task, so instead it drives fixture output from a pre-mapped relationship: this much daylight → that much electric light. Simpler and very stable (no self-referential loop), but only as good as the mapping, and it won't catch changes it can't see.
Which to choose:
| Closed-loop | Open-loop | |
|---|---|---|
| What it sees | Task surface + daylight (the outcome) | Incoming daylight only |
| How it controls | Regulates to a measured setpoint | Follows a mapped daylight→output relationship |
| View | Narrow, aimed at the task | Wide, aimed at the aperture |
| Corrects for lamp aging, décor, blockages? | Yes — it sees the result | No — it only sees daylight |
| Tuning | More care (loop can self-reference) | Simpler, very stable |
| Best for | Small, well-defined task areas (private office, a single workstation) | Large open zones, skylit / high-ceiling spaces, several fixtures on one sensor |
In one sentence: closed-loop when you can put a sensor over a specific task and want it to hold a level no matter what; open-loop when you're controlling a big daylit zone from one well-placed sensor and want stable, predictable behavior. Plenty of real buildings use both — closed-loop at perimeter workstations, open-loop under a skylit atrium.
Switching vs dimming, and the settings that keep it smooth
How the sensor acts on its reading matters as much as the reading itself.
- Switched — the circuit goes fully on or off at a light threshold. Simple, cheap, and the most visible to occupants (a whole bank of lights snapping off is hard to ignore).
- Bi-level — output steps between two levels, say 100% and 50%. Less jarring than full switching, still stepped.
- Continuous dimming — output rides smoothly up and down to hold the setpoint. It saves the most energy and is the least noticeable, which is why it's the default in modern daylight harvesting.
Continuous control only feels invisible because of four settings working together:
- Setpoint — the target light level you want held on the task. Everything regulates around this.
- Gain — how aggressively the system responds to an error. Too high and it overshoots and hunts; too low and it lags behind moving clouds.
- Delay (time constant) — a deliberate slowdown so the lights don't chase every fast fluctuation. A hand passing over a desk sensor, or a single cloud, shouldn't move the fixtures.
- Hysteresis (deadband) — separate on and off thresholds for switched control, so the lights don't buzz on and off right at the trip point when daylight hovers there.
Get these wrong and daylight harvesting earns its bad reputation: lights that pump, hunt, or flicker. Get them right and occupants never notice the system is there. This tuning is why commissioning a daylight sensor is a real step, not a plug-and-forget install.
Types of daylight sensors
Beyond the open/closed-loop distinction, sensors differ by how they connect and where they mount.
Wired vs wireless. A wired sensor reports to a driver, controller, or lighting panel over a physical control link — 0–10V, DALI, or a relay/PWM line — which means running control cable to every sensor location. A wireless sensor sends its reading over a radio network to the fixtures, so there's no control wiring to pull. That difference is decisive in retrofits, where fishing new low-voltage cable through a finished ceiling is often the most expensive part of the job.
By mounting:
- Ceiling-mounted — the common indoor position, looking down over a zone or a task area. Most open- and closed-loop room sensors live here.
- Fixture-integrated — the photosensor is built into the luminaire itself, so each fixture (or a group) can respond to its own local daylight. This is where wireless modular sensors have the edge, since the fixture already has power but rarely has control cabling.
- Outdoor / façade — weather-rated sensors (a proper IP rating matters here) that read exterior daylight for façade lighting, skylit atriums, or as the daylight reference for an open-loop system.
How do you connect a daylight sensor?
How you connect a daylight sensor depends on what the drivers understand. Terminals and mains wiring differ by product, so follow the manufacturer's wiring diagram and leave the mains side to an electrician. Wired, there are three routes:
- 0–10V. The sensor feeds a controller or a driver with a sensor input, which sets the dim level over the dim+/dim− pair: a separate low-voltage pair that runs alongside the mains feed to every driver in the zone.
- DALI. The sensor sits on the two-wire DALI bus as an input device, or reports to a DALI controller. The controller reads the light level and sends dim commands to the drivers' addresses over the same two wires.
- Relay. The sensor's relay contact switches the lighting circuit (or a contactor for larger loads) on and off at a threshold. Simple, but no dimming.
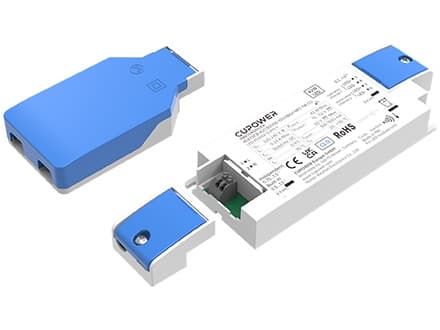
Wireless takes the control wiring out. A daylight sensor on MESHLE Bluetooth Mesh still needs power, but no control cable: you add it to the mesh in the MESHLE App, link it to the lights it should regulate, and the lux reading reaches the drivers over the mesh. Luminaire makers have a modular route as well. The SHARKWARD ANT-4E-6 connects to a CUPOWER SKY driver or MESHLE's 0-10V driver over a UART cable and mounts in a standard 20 mm hole, right in the fixture.
Where to place a daylight sensor
Placement is where daylight harvesting is won or lost. A perfectly good sensor in the wrong spot produces lights that pump, over-dim, or never respond. The principles are consistent across vendors:
- Aim it at the daylight aperture. The sensor's job is to track the daylight entering the space, so its field of view has to include the real source — the window wall or the skylight — not a dim interior corner.
- Keep the view unobstructed. No ductwork, beams, signage, tall shelving, or seasonal obstructions in the line of sight. A blocked sensor reads a space as darker than it is and over-lights it.
- Make sure a meaningful share of the controlled light reaches the sensor (closed-loop) or that the daylight it reads genuinely represents the zone (open-loop). A sensor controlling lights it can't sense the effect of is guessing.
- Avoid fixture feedback. Don't let a closed-loop sensor stare straight into the very fixtures it dims — the system then reacts to its own output, chases itself, and hunts. Offset it, angle it, or shield it from direct fixture light.
Common layouts follow from those rules:
- Private office — a closed-loop sensor over the primary task area, positioned to see both the window daylight and the desk, offset from the fixtures.
- Open office — daylit zones run in bands parallel to the window wall; the perimeter band (most daylight) is controlled separately from deeper bands (less), often each band with its own sensor so the perimeter dims hard while the interior barely moves.
- Corner office — two glazed walls mean daylight from two directions; account for both apertures rather than assuming a single dominant one.
- Skylit / high-ceiling space — an open-loop sensor high up, facing the skylight, controlling a large zone of fixtures from one well-placed reading. This is the classic open-loop case.
Daylight sensor placement: distance, spacing and skylights
The principles tell you what the sensor has to see. For where it physically goes, the design guidance lighting-control manufacturers publish gives starting numbers that hold up well in typical offices:
- Distance from the window: 1–2× the effective window height. Mount the sensor that far into the room and aim it at the nearest window. Effective window height is measured up to the top of the glazing, starting from the sill or from 1 m (3 ft) above the floor, whichever is higher.
- Open offices: at least one sensor per ~9 m (30 linear ft) of window wall, and at least one per individually controlled shade group, so each sensor reads the daylight that actually reaches the fixtures and shades it's responsible for.
- Skylights: don't mount the sensor inside the well. Up in a skylight well it reads light that hasn't spread into the room yet, so it overstates the daylight on the floor and dims the zone too far.
Treat these numbers as a starting position, not the final answer. Ceiling height, glazing and fixture layout all shift the right spot, and commissioning is where you confirm it with a light meter.
Shades, blinds and calibration
Shades are the variable most daylighting setups forget. Blinds and roller shades change how much daylight gets in and how deep it reaches into the room, and blackout shades cut it to almost nothing. So calibrate with the shades open, then close them and check again. If the lights don't come back up to the target with the shades down, recalibrate before you sign the zone off. On MESHLE Bluetooth Mesh, partner shutter controllers running MESHLE firmware join the same network as the lighting, so you can move the blinds from the MESHLE App for both checks.
Calibration itself is a short job, and the usual sequence looks like this:
- Put a light meter on the task surface, at desk height in the sensor's zone. Not on the floor, not held up toward the ceiling.
- Pick the right moment. Calibrate when daylight makes up a meaningful share of the light on the desk (a common rule of thumb is at least 25% or so), but not when direct sun is washing out the space. An overcast hour beats a sunbeam across the desk.
- Set the target level. For offices, EN 12464-1 asks for 500 lux maintained illuminance on desks, which makes a sensible setpoint. On MESHLE, you set that target lux for the zone in the MESHLE App.
- Then set the gain, if your system has one. Adjust it until the meter reads the target with daylight present and the fixtures dimmed to match.
Check again later at a different daylight level. If the lights pump or lag on a system with adjustable gain and delay, look at those two before you touch the setpoint.
Daylight sensors and energy savings
The savings from daylight harvesting are real but genuinely space-dependent, so treat any single percentage with suspicion. Commonly cited figures land in the ~20–60% range for the lighting energy in a daylit zone, with the spread driven by how much daylight the space actually receives, the control strategy, and the calibration. A deep interior office with a single small window saves little. A south-facing perimeter zone or a skylit warehouse aisle can sit near the top of that range because the daylight genuinely displaces electric light for much of the day. Continuous dimming captures more of the available saving than switched control, because it harvests the partial daylight in between the thresholds instead of waiting for a hard cutoff.
Daylighting controls aren't only an efficiency nicety — in many places they're mandatory. Energy codes such as California Title 24, ASHRAE 90.1, and the IECC require automatic daylighting controls in defined daylit zones: the parts of a building that receive enough natural light to justify controlling the electric lighting against it. The exact zone definitions, thresholds, and control requirements vary by code and by edition, so check the version in force for your jurisdiction and project. The direction is settled, though — automatic daylight response is increasingly the baseline, not an upgrade.
Wireless daylight sensors and retrofit control
Everything above applies to any daylight sensor. Where the picture changes is the wiring, and that's where a wireless sensor changes the economics of a project.
In a retrofit, the sensing element and the control logic are rarely the hard part. Running new low-voltage control cable to every sensor and every fixture is. A wireless daylight sensor removes that cost: the sensor reads lux and puts the value on a radio network, and the dimmable drivers act on it there — no new control wiring through a finished ceiling.
On MESHLE Bluetooth Mesh, the lux reading travels across the mesh to dimmable drivers, which dim to hold the target brightness. Three things about that setup matter for real projects:
- It runs offline. The sensor-to-driver loop lives on the local mesh, with no cloud in the control path. Daylight regulation keeps working with no internet connection — the cloud is optional, only for remote access or building-management integration.
- It retrofits without new control wiring. Devices join the existing lighting over the mesh and are configured in the MESHLE App, so you skip the most expensive part of most daylighting retrofits.
- One sensor can do more than daylight. MESHLE offers wireless sensors that do both PIR presence and lux daylight sensing over the same mesh — for example the SHARKWARD ANT-4E-6 and MWCONNECT partner sensors, sold in bulk / OEM quantities. A single device can drive daylight regulation and presence-based Swarm lighting — light that follows movement — and you can mix roles within a group: some fixtures regulate against daylight, others switch on presence. Add optional tunable white and the same mesh also carries human-centric lighting.
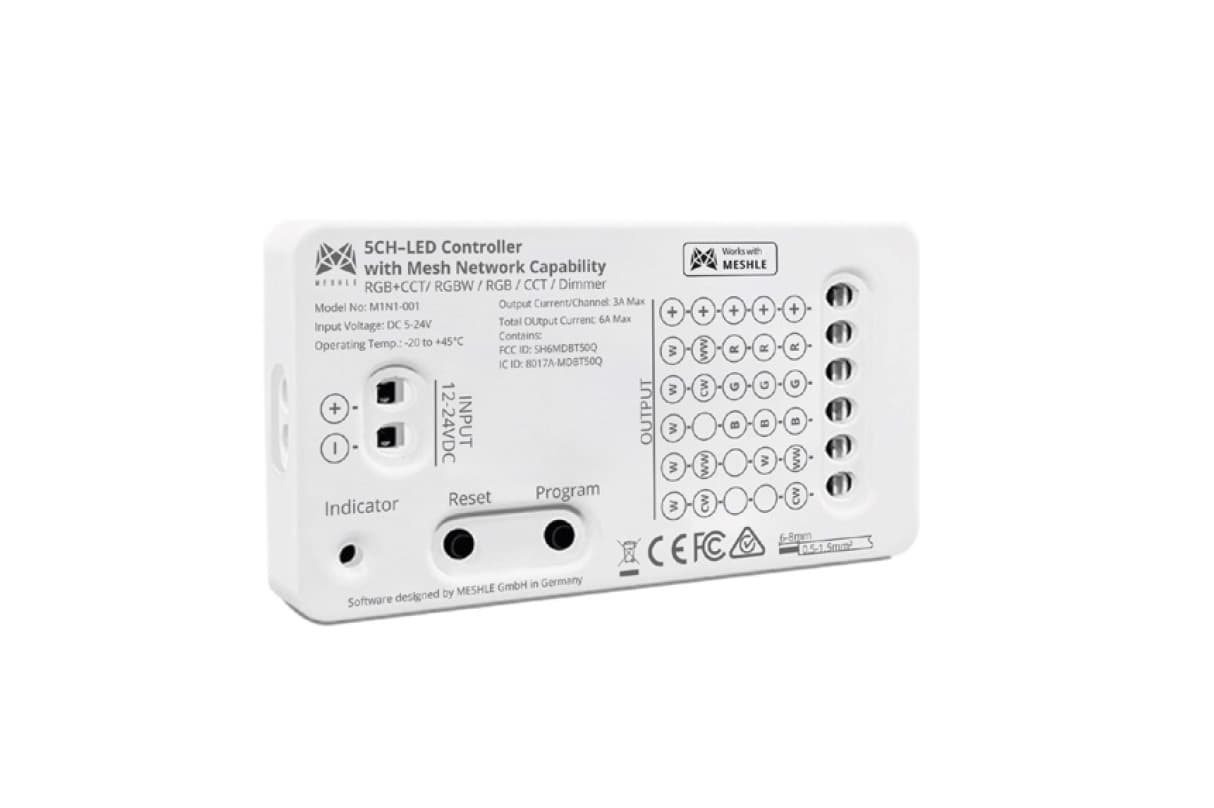
That last point is the honest edge. A classic daylight sensor trims electric light to daylight and stops there. MESHLE combines daylight harvesting, presence/Swarm, and optional tunable white on one offline wireless mesh — one sensor, one app, no new wiring — so a single retrofit covers three jobs a daylight-only sensor can't. The compact controller on the receiving end is usually the flex MINI — a 5-channel PWM node that takes the lux value off the mesh and dims the driver locally, no gateway in the loop.
This isn't theory. In a shopping mall in Ingolstadt, MESHLE dims storefront lighting to the daylight coming through the building's glass roof, using a DANLERS ML-HBWDSW photocell feeding a power-limited driver over the mesh — the full write-up is in the daylight harvesting retail case study. The same pattern fits commercial and retail buildings with glazing and skylights, and industrial spaces where high-bay fixtures sit under roof lights.
If you're specifying daylighting controls for a new project or retrofitting an existing building, the questions to settle first are the ones above: closed-loop or open-loop, switched or dimmed, wired or wireless — and whether one sensor should also handle presence and tunable white while it's up there.
Related MESHLE products
The hardware behind everything above — the pieces you'd actually spec into a project like this.
Frequently asked questions
What does a daylight sensor do?
It continuously measures the light in a space and tells the lighting control system how much electric light to add. As daylight rises the sensor drives the fixtures down; as it fades they come back up. The goal is a steady light level on the task while the electric lighting only supplies what the daylight doesn't, which is where the energy savings come from.
What's the difference between a daylight sensor and a photocell?
They're the same core component — a light-sensitive element (photodiode, phototransistor, or photoresistor) that converts light into an electrical signal. Photocell is the generic hardware term; daylight sensor describes a photosensor used specifically for daylight harvesting, calibrated and aimed to regulate electric light against daylight rather than just switch a light on at dusk.
Where should you place a daylight sensor?
Aim it at the daylight aperture (the window or skylight) with an unobstructed view, mount it so a meaningful share of the light it controls actually falls within its field of view, and keep direct output from the controlled fixtures out of that view to avoid feedback. In practice that means a closed-loop sensor over the task area near the glass, or an open-loop sensor high and facing the aperture for a whole zone.
At what light level does a daylight sensor activate?
There's no universal number. The activation point is the setpoint you calibrate for that space (for example, the target lux or foot-candles on the work plane). The sensor compares the measured level to that setpoint and adjusts output to hold it. Switching systems use a threshold plus hysteresis; dimming systems regulate continuously around the setpoint.
Do daylight sensors dim, or just switch on and off?
Both exist. Switched control turns a circuit fully on or off at a threshold; bi-level control steps between two output levels; continuous dimming rides the output up and down to hold the setpoint. Continuous dimming saves the most and is the least noticeable to occupants, which is why it's standard in modern daylight harvesting.
Can daylight sensors be wireless?
Yes. Wired sensors report to a driver or controller over 0–10V, DALI, or a relay/PWM line; wireless sensors send the reading over a radio network instead. A wireless daylight sensor on MESHLE Bluetooth Mesh reports lux across the mesh to dimmable drivers with no new control wiring — good for retrofits — and runs offline once configured in the MESHLE App.
Are daylight sensors required by code?
In many jurisdictions, yes. Energy codes such as California Title 24, ASHRAE 90.1, and the IECC require automatic daylighting controls in defined daylit zones — the areas of a building that receive enough natural light to warrant it. Exact triggers and thresholds vary by code and edition, so check the version in force for your project.
How much energy does a daylight sensor save?
Commonly cited figures land in the ~20–60% range for the lighting in a daylit zone, but the real number varies with how much daylight the space actually gets, the control strategy (continuous dimming saves more than switching), and calibration. A north-facing interior office saves little; a south-facing perimeter or skylit area saves a lot.
Open-loop vs closed-loop daylighting — what's the difference?
A closed-loop sensor sees both the task surface and the daylight and regulates to hold a measured setpoint, correcting for anything it sees. An open-loop sensor sees only the incoming daylight (not the controlled light) and drives output from a mapped relationship between daylight and the required electric level. Closed-loop suits smaller, well-defined task areas; open-loop suits large zones and skylit spaces.
Daylight sensor vs occupancy sensor — what's the difference?
They answer different questions. An occupancy (motion) sensor detects whether anyone is present and switches or holds light accordingly. A daylight sensor measures how much light is present and adjusts the electric contribution. They're complementary — occupancy decides whether to light an area at all, daylight decides how much electric light it needs — and combined-sensor products handle both.
How do you connect a daylight sensor?
Wired, it depends on what the drivers speak. On 0–10V, the sensor feeds a controller or a driver with a sensor input, which sets the dim level over the dim+/dim− pair. On DALI, the sensor sits on the DALI bus or reports to a DALI controller that sends the dim commands. A relay sensor simply switches the circuit at a threshold. Wireless sensors skip the control wiring: on MESHLE Bluetooth Mesh you add the sensor in the MESHLE App and link it to the lights it should regulate.
Why isn't my daylight sensor working?
Start with what the sensor can see. A dusty lens, a new shelf or a blind in its line of sight makes it read the room darker than it is. If it sees its own fixtures, it reacts to its own output and the lights hunt. Next, check calibration: a wrong setpoint over- or under-dims every time. On systems with adjustable gain and delay, gain set too high makes the lights pump and a delay that's too short chases every cloud. Finally, recheck with the shades closed, since they change the daylight it was calibrated for.
Can a daylight sensor turn lights on at night?
A photocell can; that's its classic job. An outdoor dusk-to-dawn photocell switches lights on when the light falls below a threshold at dusk and off again at dawn. Daylight harvesting works differently: it dims indoor lights when daylight is plentiful and raises them as it fades. After dark the fixtures run at the output the target needs, while a switch, schedule or presence sensor decides whether they're on. On MESHLE, the lux reading can also act as a darkness threshold, so presence-based Swarm lighting only kicks in once it's dark enough.